

James K. Sohn
2023-12-18 Monday
Other Dev Stuff
Adding Google Analytics to Your Next.js Project
Google Analytics
Next.js
A simple guide to adding Google Analytics to your Next.js project

1. Google Analytics
Google Analytics is a web analytics service provided by Google that enables website owners to track and analyze user interactions, website traffic, and various metrics to gain insights into user behavior and optimize the performance of their online presence.
I integrated Google Analytics to my blog to mainly see my visitors and their demographic backgrounds; but Google Analytics offers much more than just that. Best of all, it's free. Unless you are using another analytic service, I personally believe there is no reason not to use Google Analytics even in your smallest projects.
Without further due, here is how you can begin using Google Analytics with your Next.js projects.
2. Step 1: Set Up Google Analytics
If you don't have a Google account for some odd reason, go ahead and make one first. Once logged in, access the Admin section and initiate the account creation process by following the steps provided by Google.
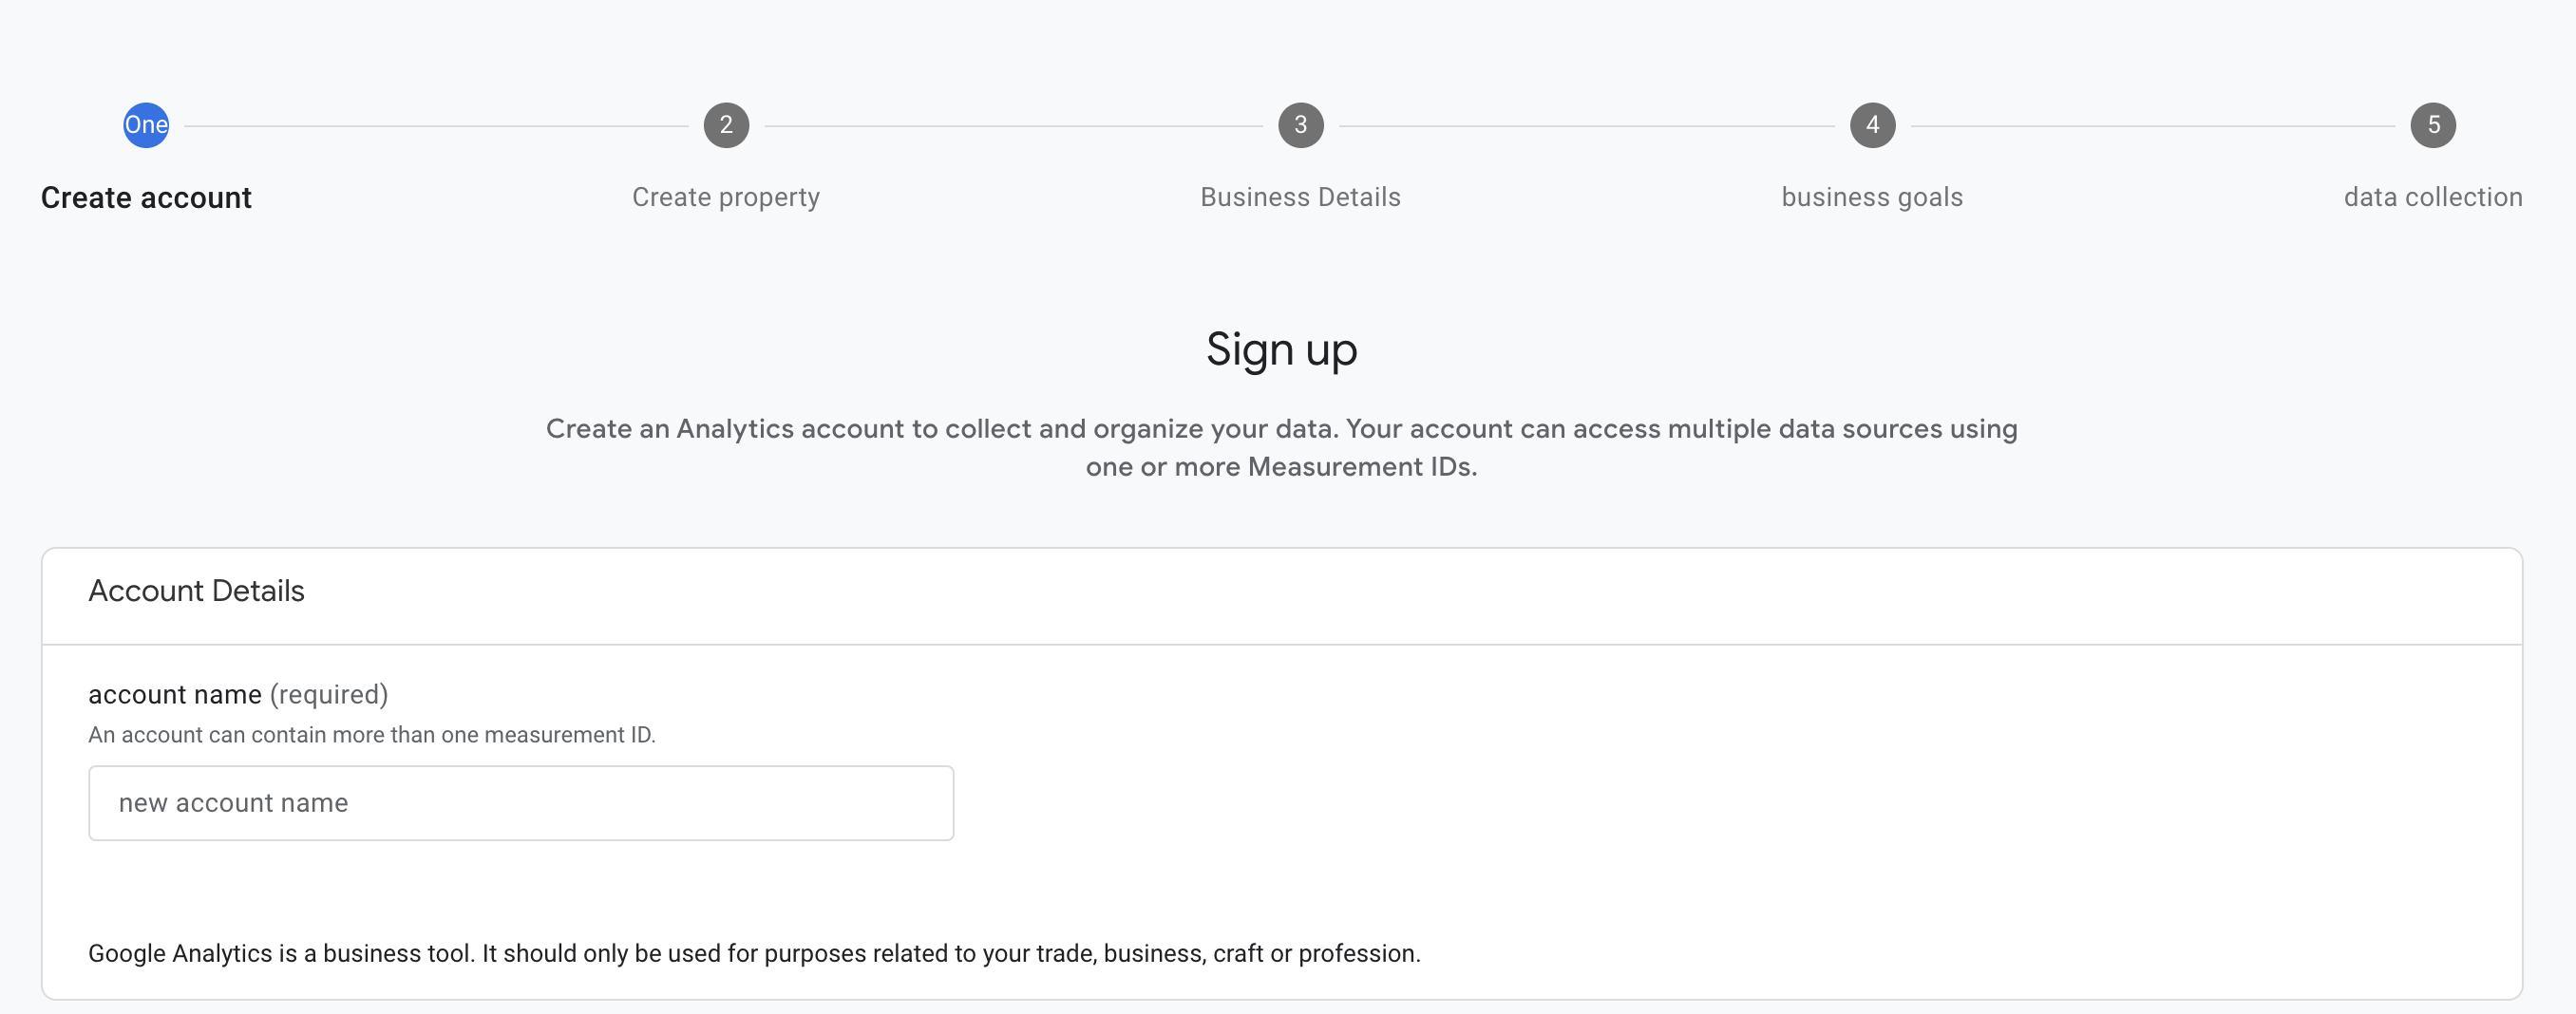
Enter an account name of your choice. An account is a user-specific identifier for a Google Analytics dashboard that organizes and manages multiple websites or mobile apps under its control.
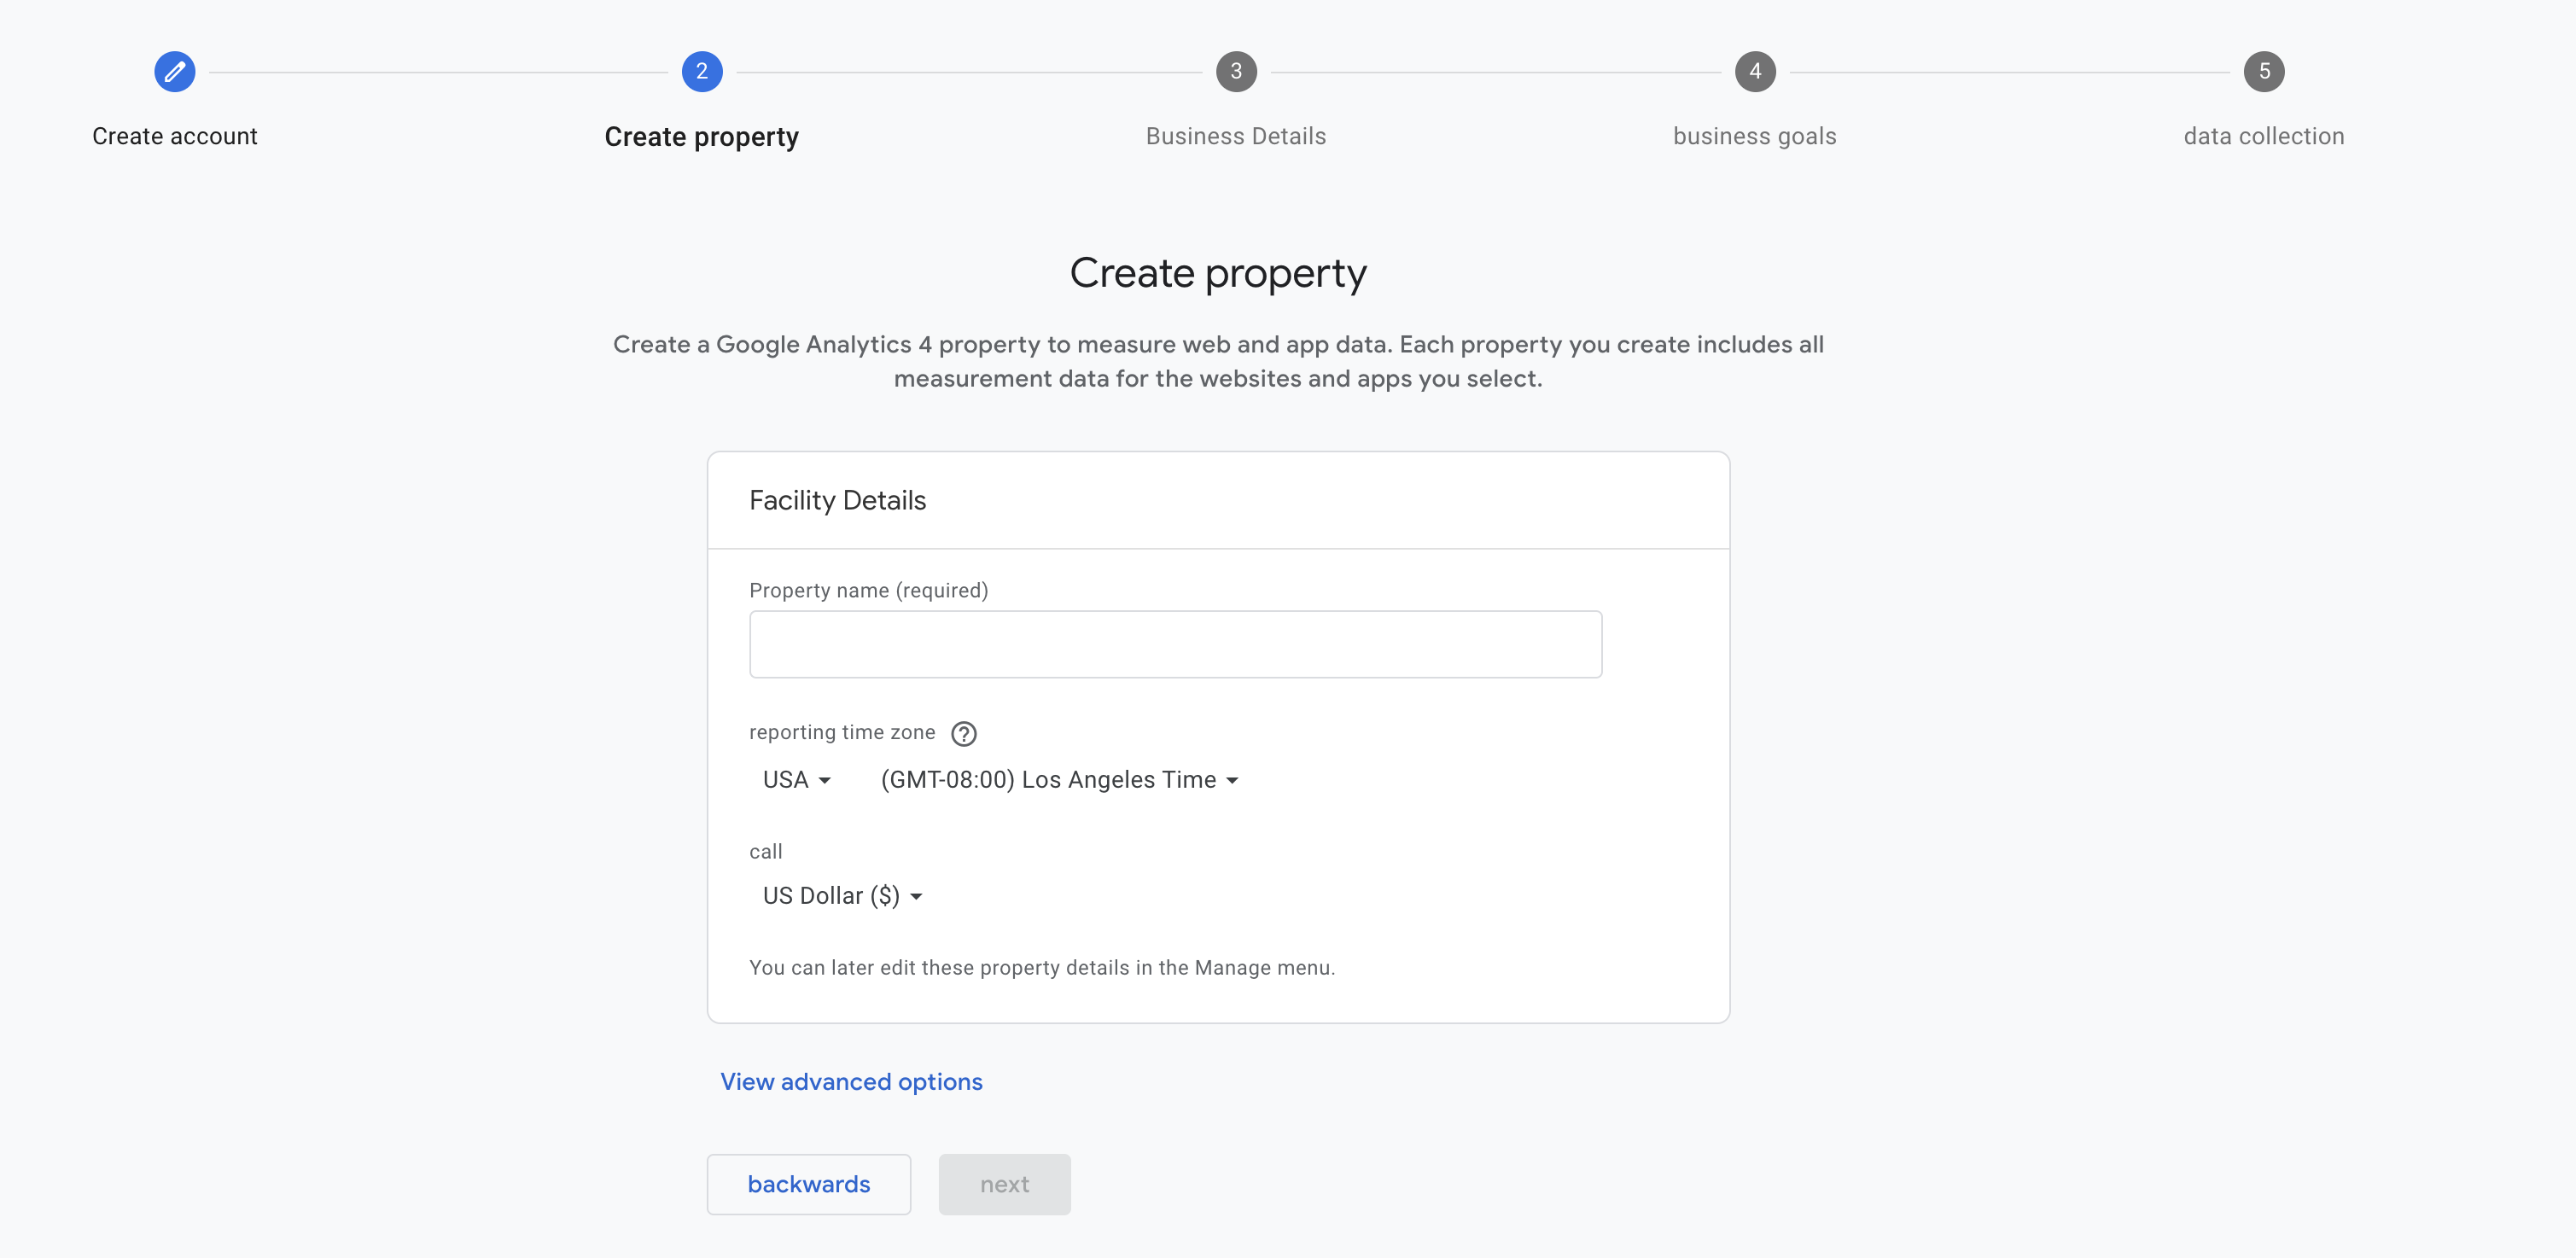
Establish a property, representing either a mobile app or website. For my blog, the property is named jsjs-devlog.
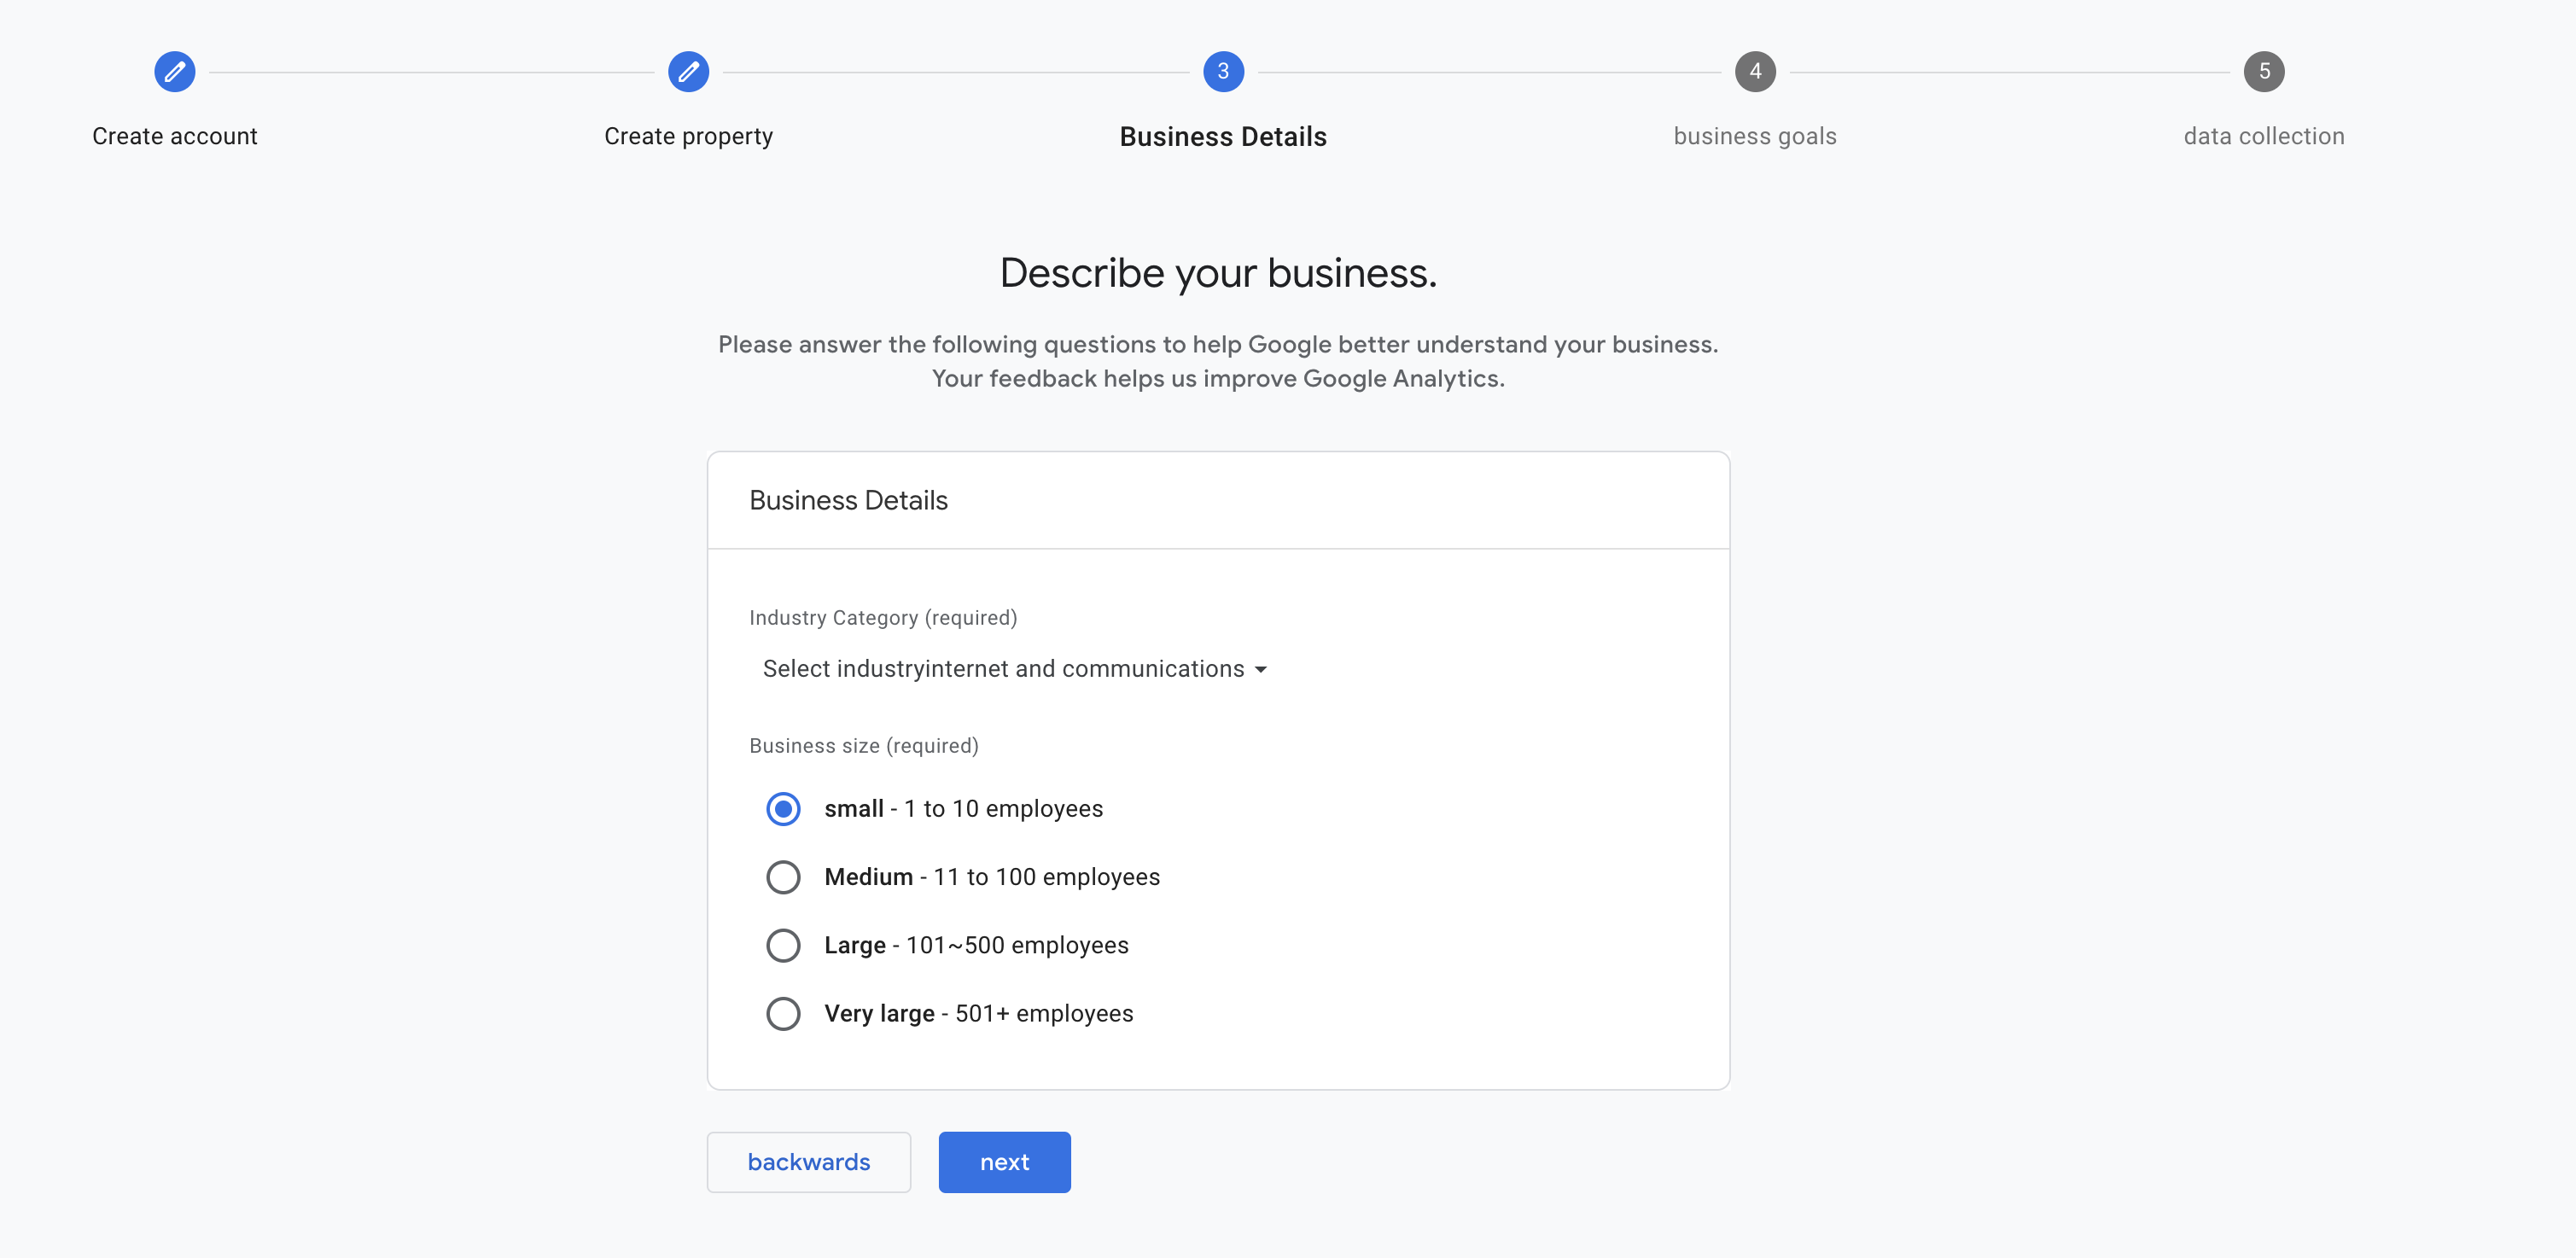
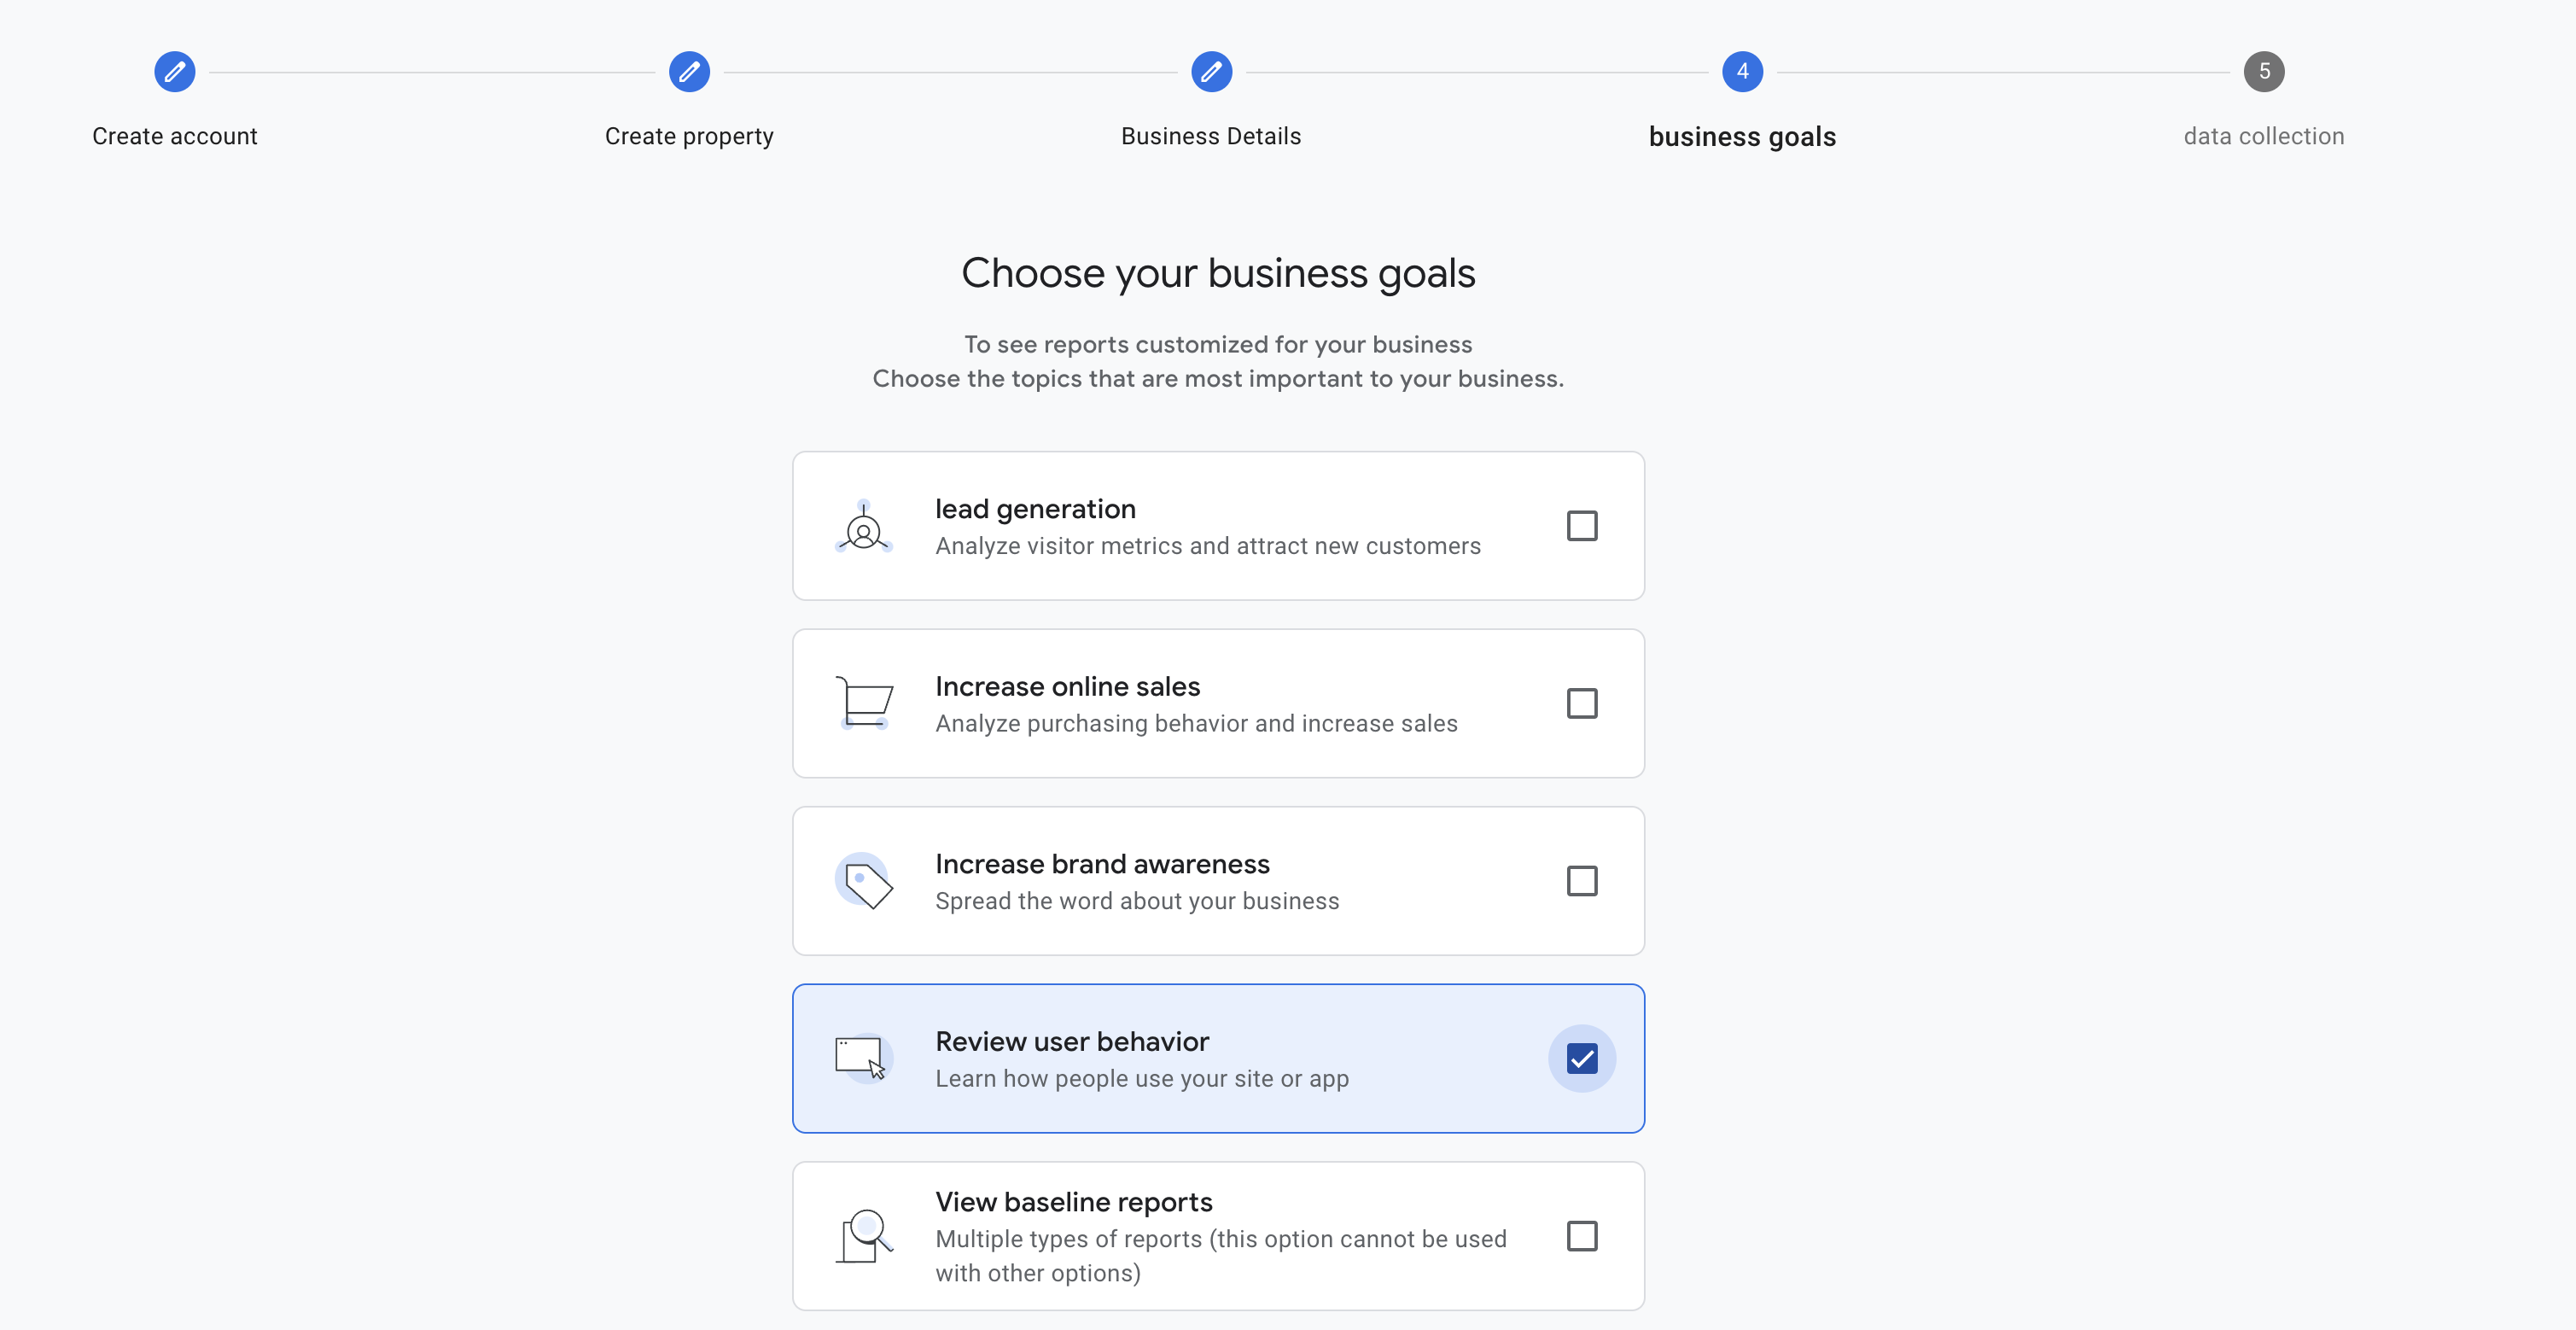
Select business descriptions and goals to what best fits your property.
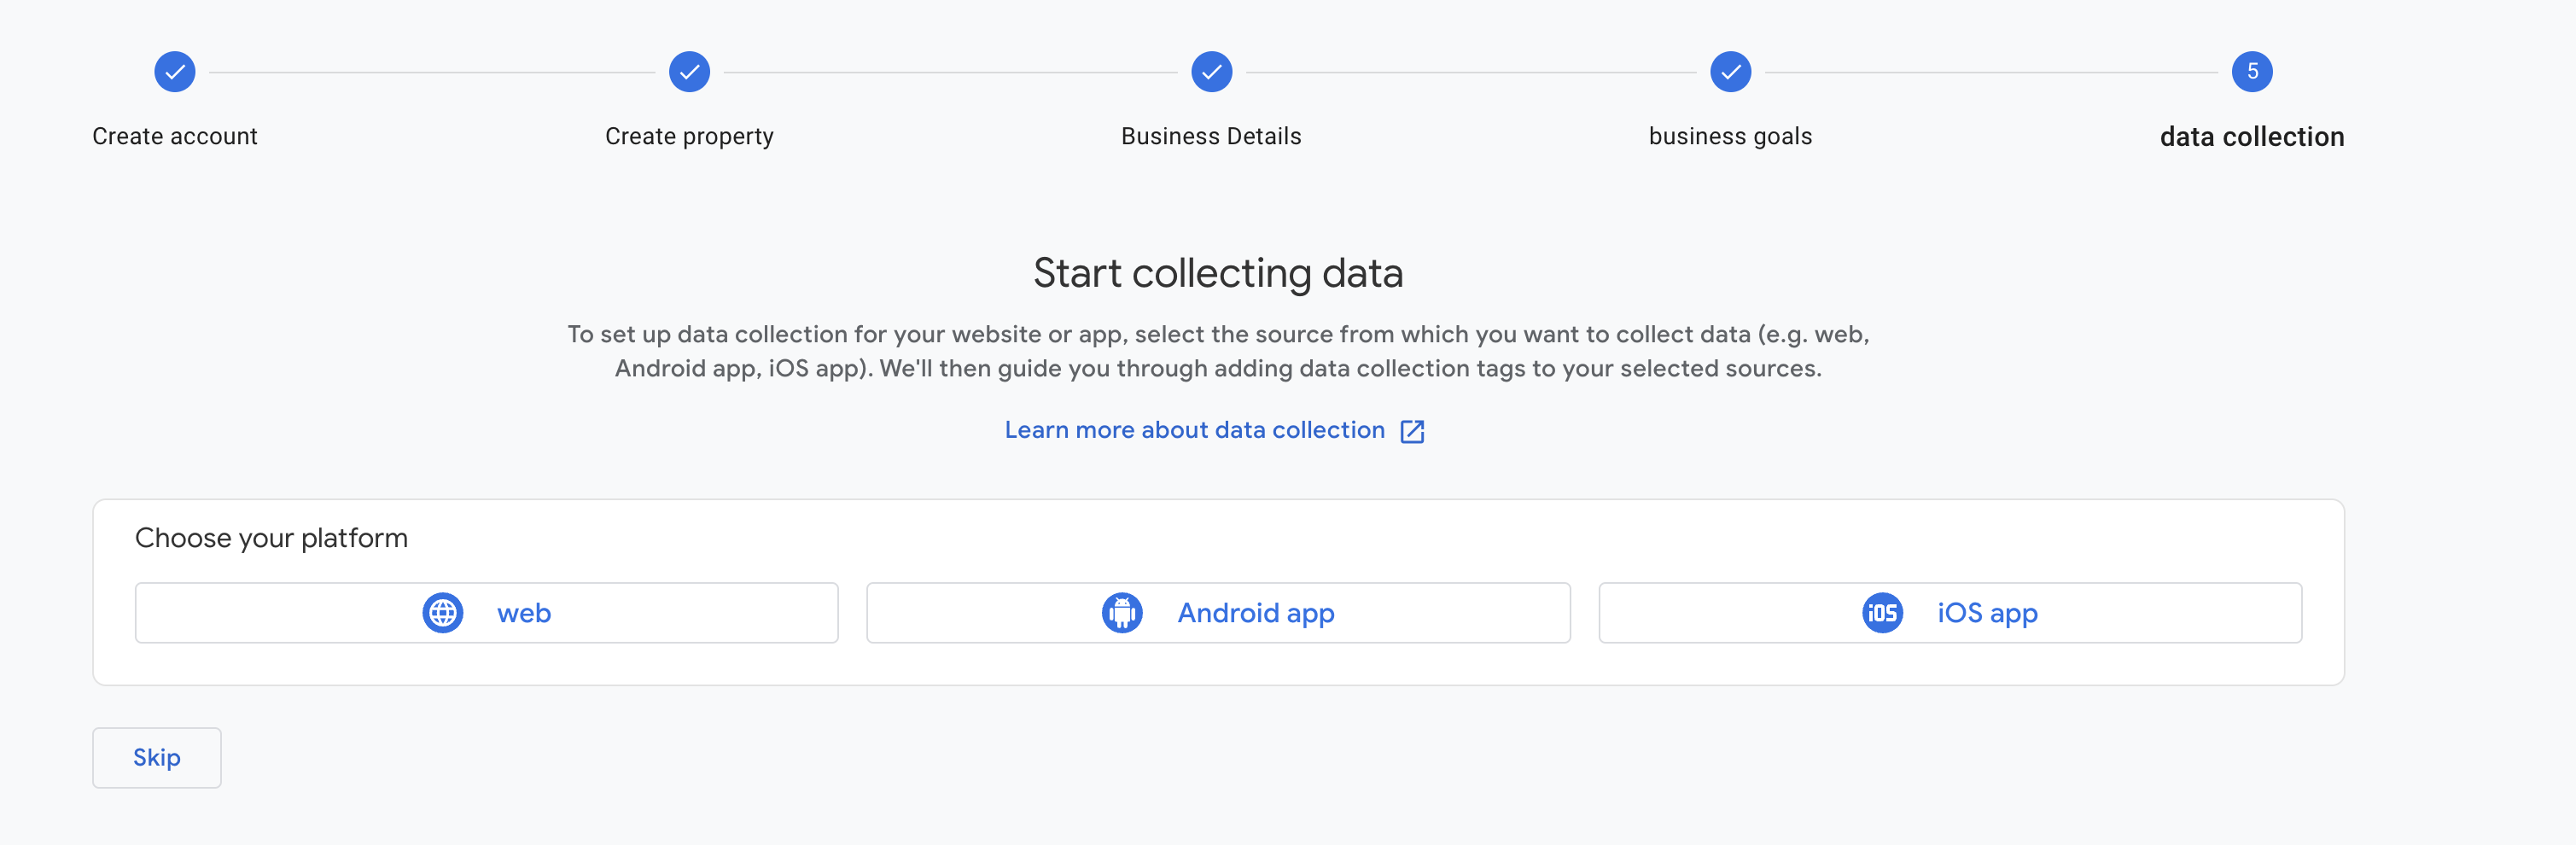
If you are creating a website using Next.js, choose 'Web' as your platform. For other project types, select the appropriate option.
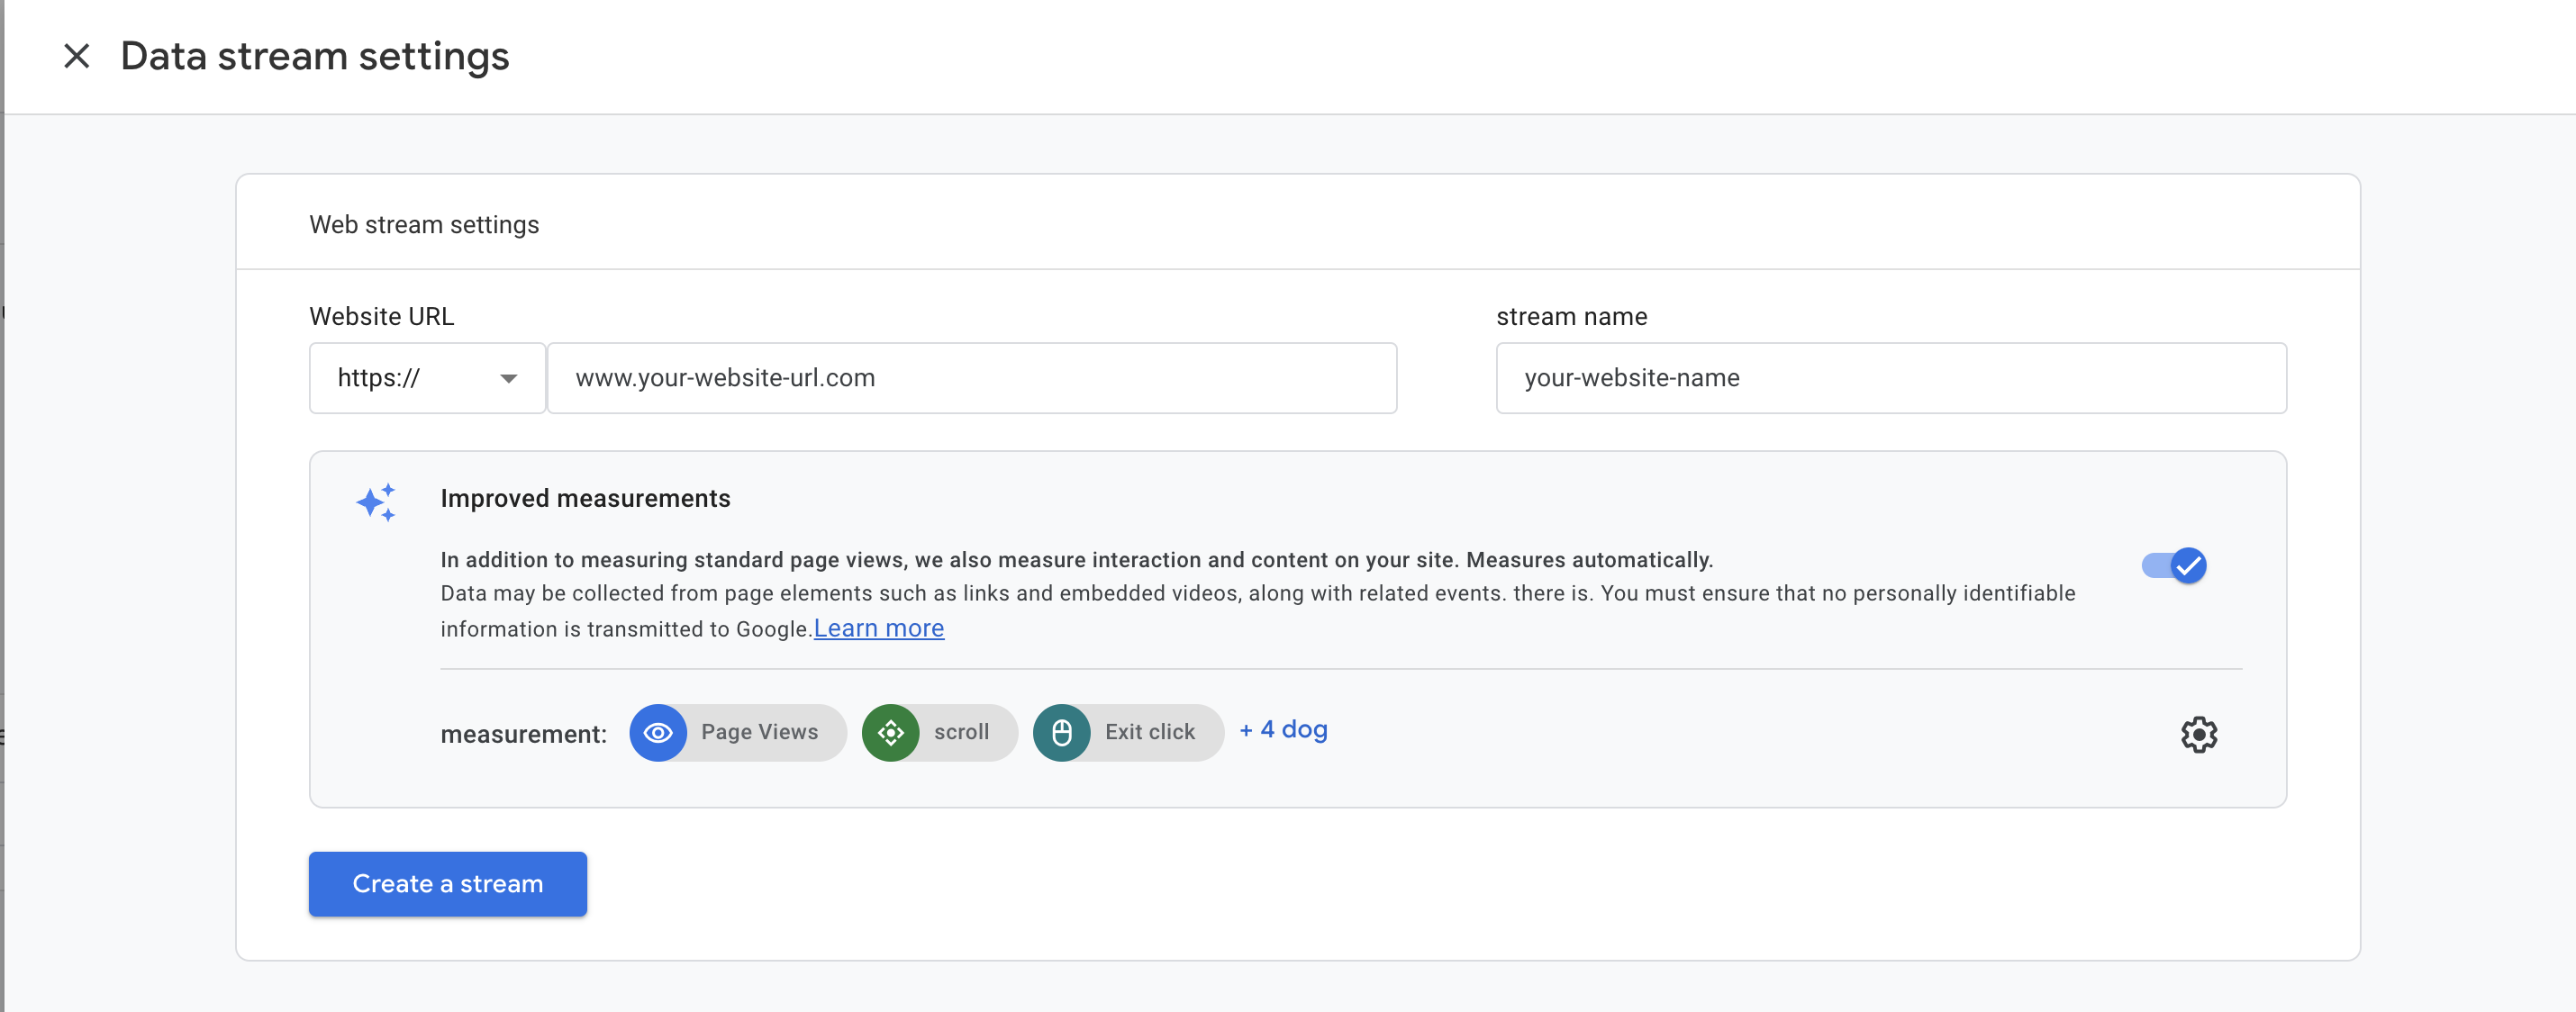
Enter the URL and the name of your website. Upon completion, make sure to grab the Measurement ID. It should look something like G-0000000000.
Step 2: Add MeasurementID to Environment
Create a new file named .env.local in the root directory of your project. There, add the following code. Make sure to add it to .gitignore if you are using git.
// Put your MeasurementID from Google Analytics
GOOGLE_ANALYTICS = "[your-measurement-id]";
Step 3: Load Analytics
If you are using App Router, add the following script tags in your root directory's layout.tsx.
// layout.tsx for jsjs-devlog
import "./globals.css";
import type { Metadata } from "next";
import Script from "next/script";
import { Nunito_Sans } from "next/font/google";
import { Header, Footer, PageWrapper } from "@/components/common";
const nunitoSans = Nunito_Sans({
subsets: ["latin"],
});
export const metadata: Metadata = {
title: "JSJS Blog",
description: "Frontend engineer's journey to becoming a better developer",
};
export default function RootLayout({
children,
}: {
children: React.ReactNode;
}) {
return (
<html lang="en">
<head>
// ↓ Add the following two script tags
<Script
strategy="lazyOnload"
src={`https://www.googletagmanager.com/gtag/js?id=${process.env.GOOGLE_ANALYTICS}`}
/></Script>
<link
rel="stylesheet"
href="https://cdnjs.cloudflare.com/ajax/libs/highlight.js/11.9.0/styles/atom-one-dark.css"
/>
<link rel="icon" href="/favicon.ico" sizes="any" />
</head>
<body className={nunitoSans.className}>
<PageWrapper>
<Header />
{children}
<Footer />
</PageWrapper>
</body>
</html>
);
}
Step 4: Check Google Analytics Dashboard
Open up a browser and visit your property. Once finished, proceed to the Google Analytics Dashboard and select the 'Realtime Data' section. If everything has been correctly setup, you should be able to observe at least one user (representing yourself) and their location on the map.
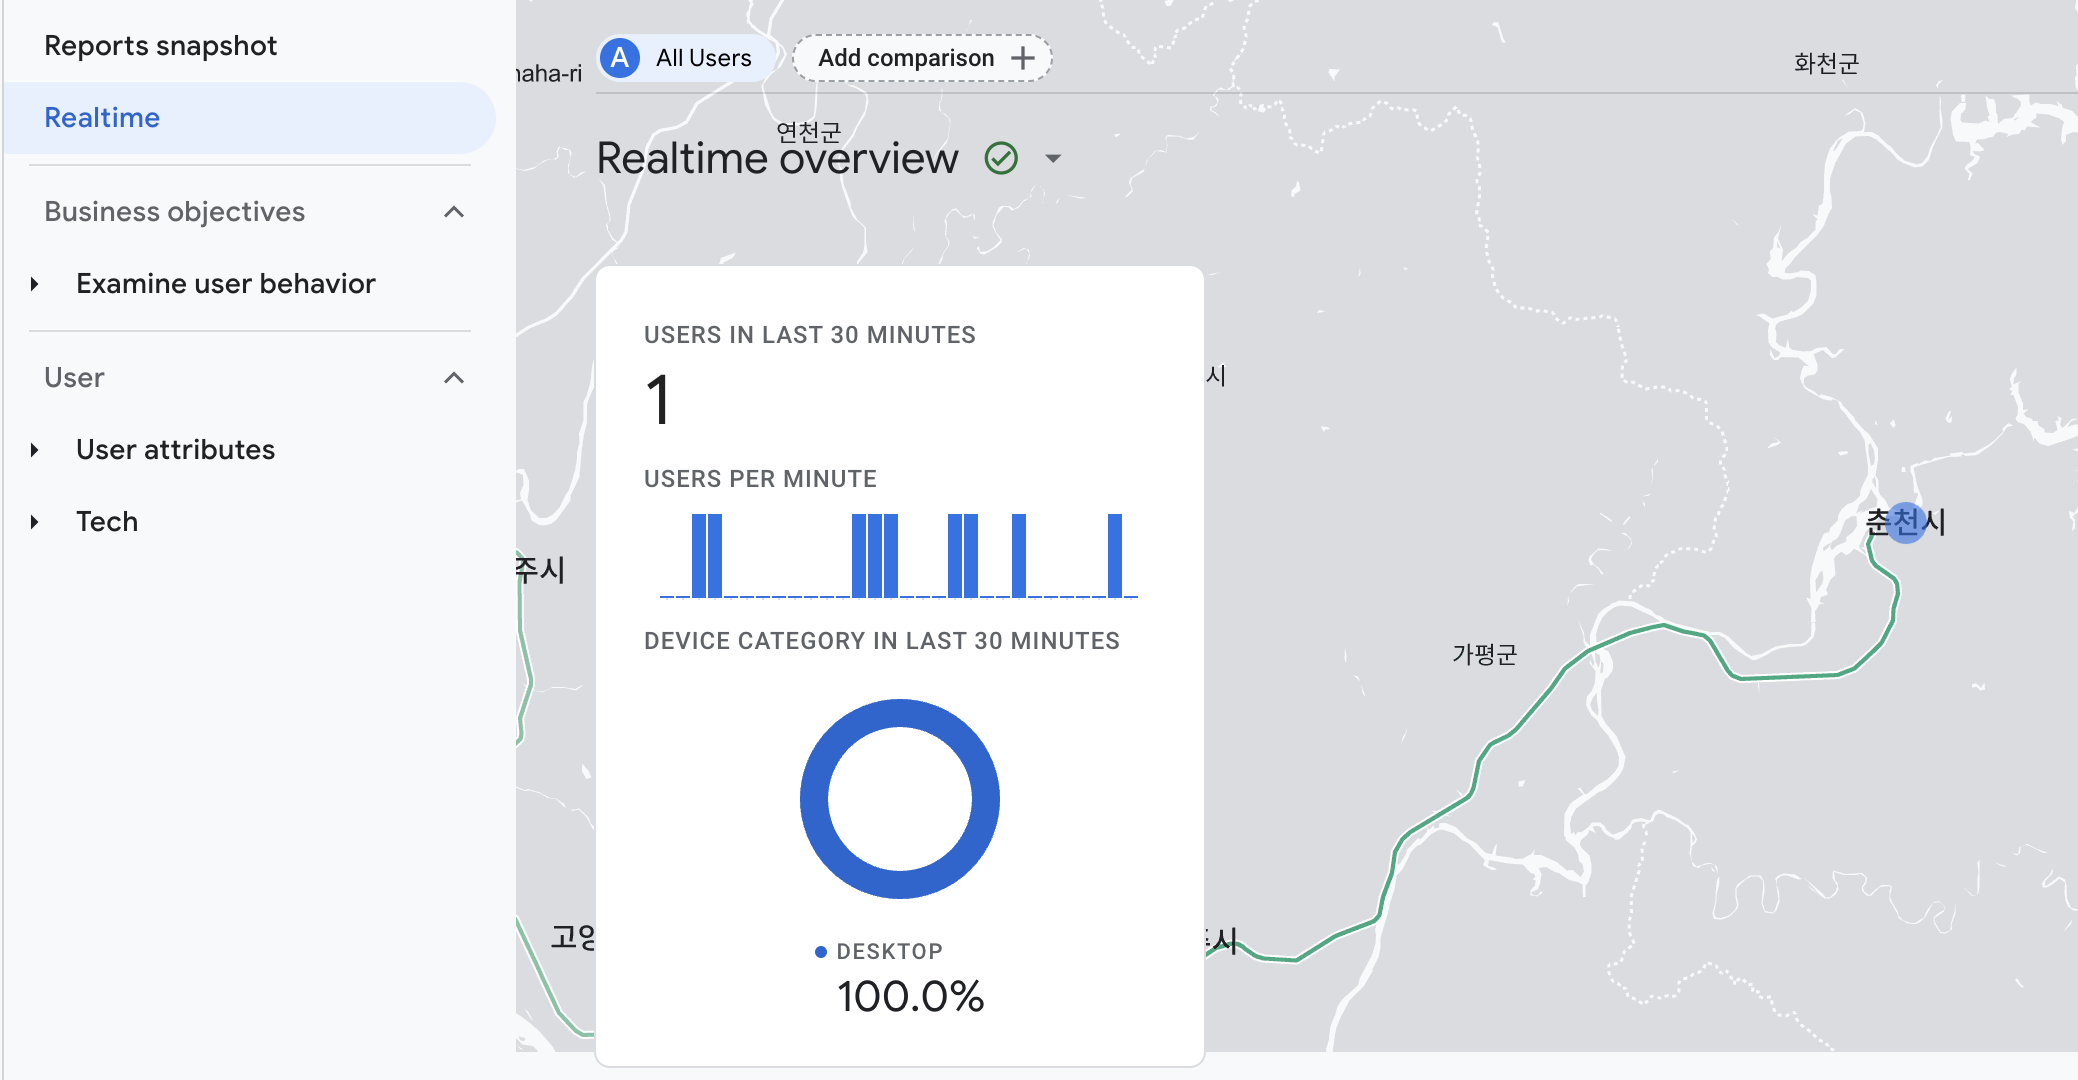
I am currently writing this blog post in Chuncheon, South Korea, and the map accurately reflects my geographical location.
With this, you should be able to get analytic data on your Next.js website!
Previous
Fundamentals of Managing Databases, Tables and Data with MariaDB
No next post in the category